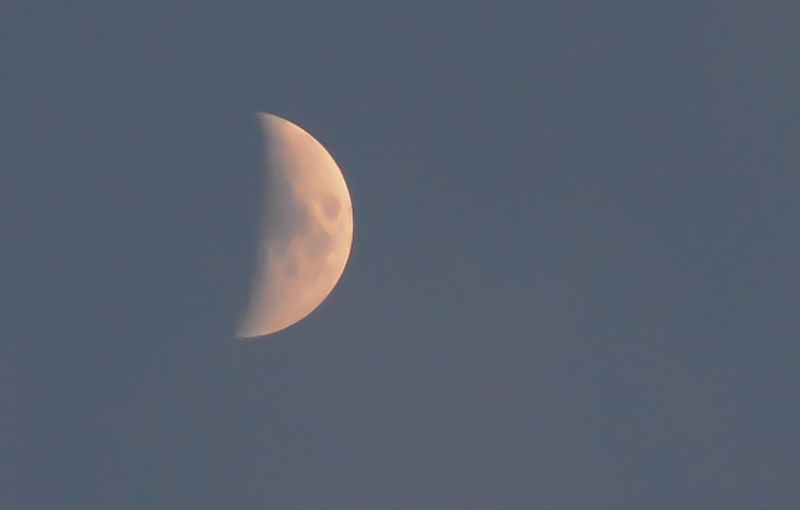
Who doesn’t like the moon? I always wanted to take pictures of the moon. I think it would be very well possible with a nice tele lens and my D7100, but since I still only have my 18-105mm Nikon kit lens, it’s hard to do that. However, I tried it anyway and the photo above is the result, but to be honest, I had to edit the photo because here is how far away I would be otherwise…
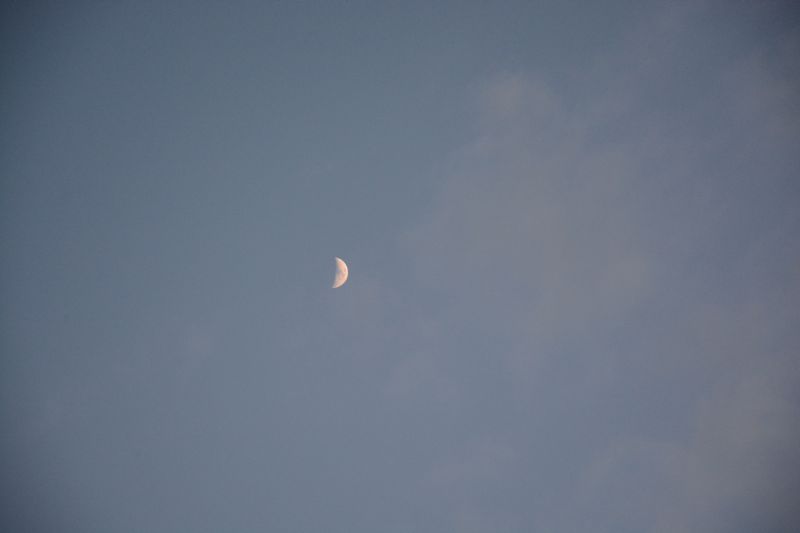
I first wanted to delete the image as I thought “Damn, that is not really interesting, I am so far away”, but that was to be expected. So, with this original image you can see how close you can get when zoomed to 105mm with the Nikon kit lens, not impressive, it’s an image that I usually would delete. But then I got curious how far I could get when I crop the hell out of the image…

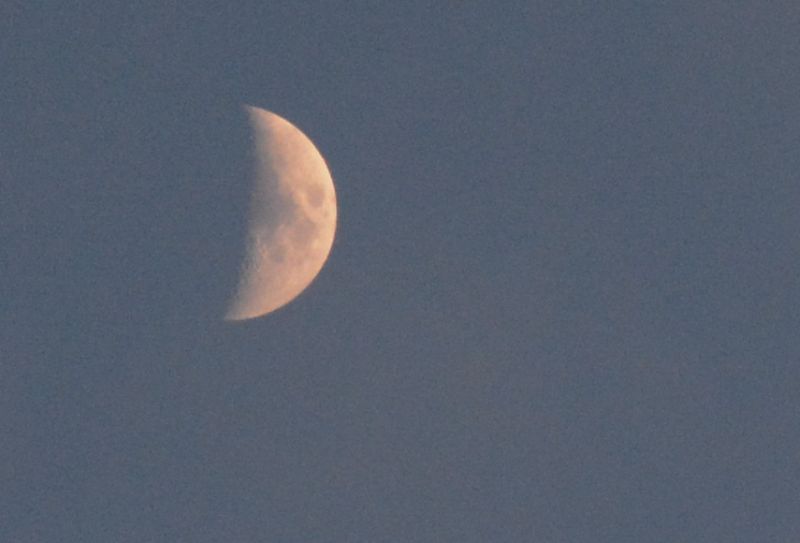
I opened Lightroom to use the crop tool, for those that don’t know it, you can open the crop tool with “R” on your keyboard, that’s how it works in Windows, I am not sure about other operating systems. In the crop tool you will see your whole image selected in a rectangle that you can resize with the mouse. As you can see in the image above, I made the rectangle much smaller, after that I just double-clicked on it to tell the software “Yea, that’s how I want it to be cropped”, and you get back to the develop tool where you see your cropped image now without the outer areas that you just did cut away.
There is a problem with cropping. All images are made of pixels, in original resolution and uncropped, you don’t see the pixels if the image was taken sharp enough. So, what happens if you try to get closer? You will start to see pixels, and you will also start to see image noise. The result is that you are now closer, but the image looks really bad…
Even if you don’t have a tele lens yet, it doesn’t mean that you have to delete your image. Maybe you are curious as me and want to try to fix the cropped image. Lightroom has a couple of nice sliders with different functions that you can move to fix or adjust certain things. There is also a function that you can use to remove image noise as in the image above. Don’t expect that you can fix every cropped image with it, but it sometimes works.
 When you are in the develop mode, you most likely noticed the widget with all the sliders on the right side. You can also scroll down in this area, as there are quite a lot of different things to adjust.
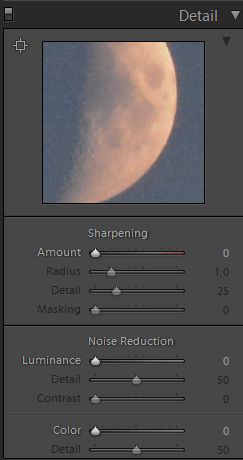
Since our cropped image is so noisy and bad, there is at the moment only one category important for us. One category in the widget is called “Detail”. That’s where we can do two things, sharpening images, and reduction of image noise.
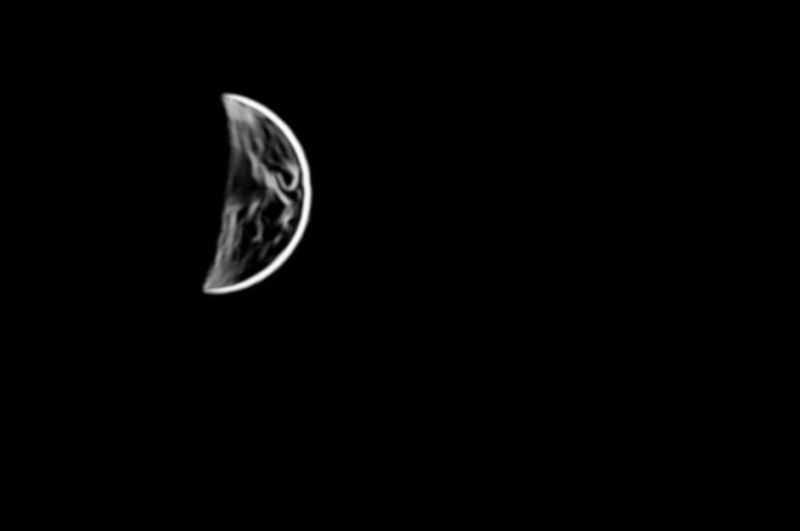
We have a problem with noise, and we can reduce the noise with the “Luminance” slider under “Noise Reduction”. To get a result like in the first image I posted in this article, I had to bump the “Luminance” slider up to the value 90. That’s quite a lot and reduced the noise heavily, but also makes the images very blurry. What kind of value you use, depends on the image. You usually go up until the noise is not visible anymore and reduced enough.
Since my cropped moon and the background was very noisy, I had to use a high value. With sharper images or with less cropping, you don’t have to go that high. When you used a very high value with the “Luminance” slider, you will reduce image noise, but you also will reduce sharpness. What is better? A very noisy image or a very blurry image? Both is very bad. We now have an image with no visible noise, but a lot of blurriness. It’s apparent, we need to get back some sharpness…
That’s where the “Sharpening” feature comes in handy. Under “Sharpening” there is a slider with the label “Amount” and the more you move the slider, the more sharpness you will bring back. There is also a slider called “Masking”, try to move that one while you hold the “alt” key on your keyboard…
 You will notice that the image changes to black and white. Depending how you move the “Masking” slider while holding the “Alt” key, there will be more or less black and white areas, you can influence it. But what does that mean? It’s easy to understand, black areas are where no sharpening will be applied, white drawings are the areas where the sharpening will be applied. So, with this feature you can actually control where you want the sharpness in the image.
As in the image above, I just wanted to have some inner and outer contours of the moon sharp. As the background of the image is blue, it’s not that important anyway as you can not make a single colour much sharper, but with some images you might have a lot of things going on in the background, and then this feature comes in very handy as you can decide where you want to have the sharpness applied. Even if not too important for my image, I had to tell you this right away, because it’s something you need to know, it is something you can make use of in many situations, because with many images you don’t just want to apply sharpness everywhere.
So, use the masking first before you do actually increase the sharpness with the “Amount” slider that I mentioned earlier. Also here, don’t expect wonders. Of course, do always try to get the sharpest image out of your camera without editing it, but remember, we are talking about a situations where you don’t own the gear to get great and crisp close-up shot of the moon, without editing it. If you want to get the best results without owning the best gear for the job, you can try out what I just explained. A lens that is made to get things very close is obviously always better then a lens that is not made for it, even if you edit the photo, but the point is that you can try to get the best out of your gear with editing the image, just to experience the joy of this hobby. Try the editing with your moon photos, with far away birds photos, you will be surprised, often you can still get pretty close to the subject with editing.
Just be aware that editing won’t make every image great, it doesn’t always help, but in some cases it does, that is the point. With some images where much more is going on, it might also be much more difficult to achieve good results, and you can not always crop all the way in. It depends on the image, but with this guide you should know the basics to try it out with different images, and with practice you will learn how far you can go and where it works very well.
I hope this small guide helped you to understand how you can still achieve some interesting results even if you don’t own a tele lens to get close to your subject.
