As I mentioned a month ago, I’ve slowly purchased some PC parts when I spotted deals. In that post I mentioned that I’ve prepared the mainboard BIOS to be able to take the next gen Zen 3 CPU’s. But I’ve already purchased some more parts, thus I was able to do some more preparations so that I don’t have the work the day when I have all parts delivered.
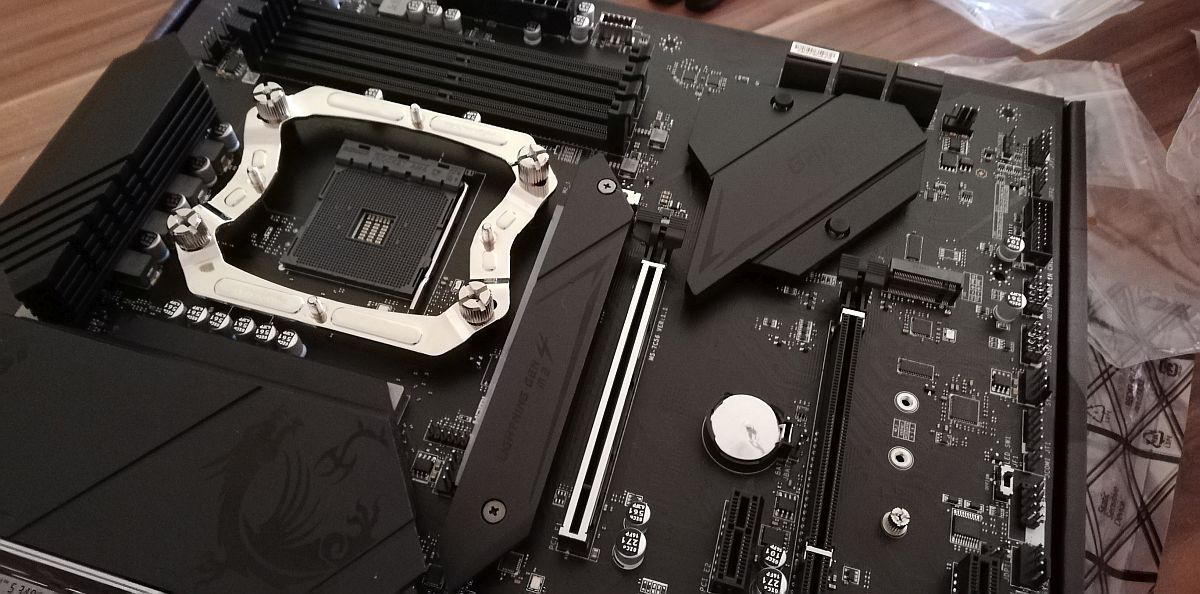
The photo at the top shows my MSI B550 Gaming Plus mainboard after further preparation. It’s a gorgeous mainboard as it is entirely black. However, I won’t see much of it later when the PC is built because even if my I have choosen a PC case with a tempered glass side, it’s a dark tempered glass and won’t show a lot except RGB LED’s maybe. Anyway, I already have a CPU cooler here too, so I started to prepare the mainboard for it. I removed the standard mounting kit from my board and added the backplate and bracked of my Alpenfön Brocken 3 cooler. It’s the silver frame surrounding the CPU socket as you can see in the image at the top.
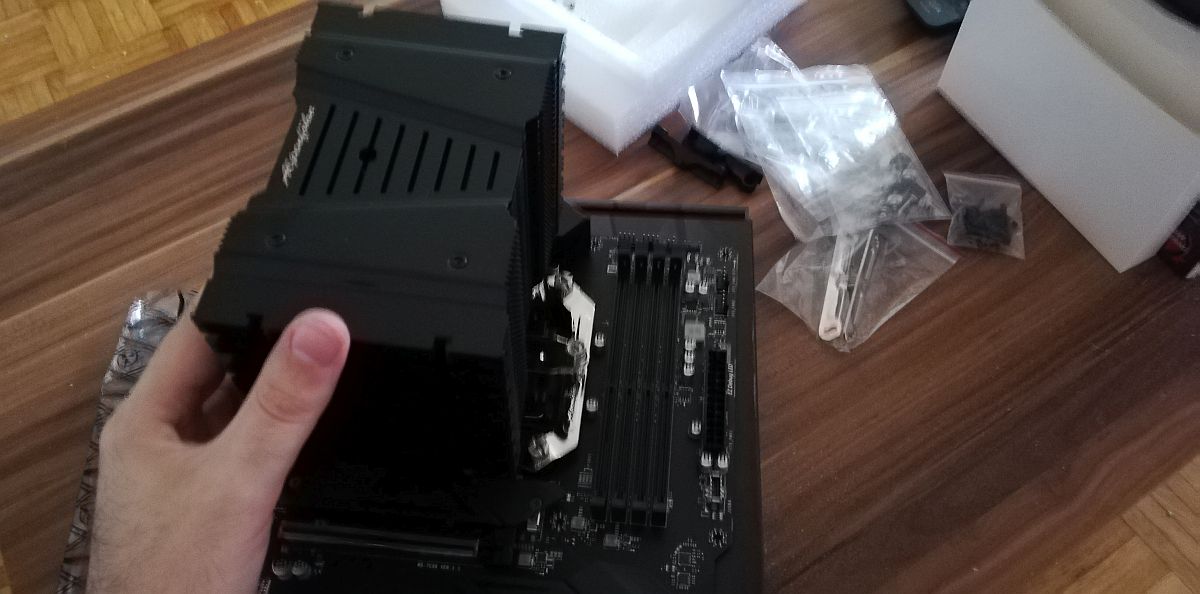
Next, I did put the CPU cooler on the bare CPU socket. Nope, I didn’t attach it to the brackets, I did just put it on there for a test, to see how much clearance I would have. That’s it. The thing is, I am building PC’s since I don’t know, 30 years maybe. So, out of experience, you’re better prepared and know what you work with. The most practical way to put things together is by doing it outside of the case, however, you don’t want to get a surprise later on when you shove the stuff into the case. I am talking about surprises like “Damn, I can not reach this screw” or “Oopsie, how am I supposed to plug in that cable now?”.
An interesting question is also, even if you researched your products well, if you have enough clearance between the CPU cooler and the RAM banks. But I was sure it would be just fine in my case as I purchased a cooler with a special staggered design for that. The heatpipes basically shift away from the memory banks, unless you attach the cooler the wrong way around. You think someone can not be that stupid? You’re wrong, I’ve seen and heard that many times. As you can see in the image at the top, even if I add the fans to the cooler, I will still have clearance to put in the memory kit later on. I expected that as said, I was more interested to find out if I can reach the screws when I put the mainboard into the case and mount it.


Talking about the PC case, I purchased the Fractal Design Meshify C. Saw it a few times in YouTube reviews and was blown away by the minimalist design and how cool it is to build the hardware into the case, including the cable management options and other stuff. I didn’t plan to use the default fans. It came with a 120mm fan at the front and a 120mm fan at the rear. I actually didn’t plan to use the Fractal Design fans at all. I want to use BeQuiet Silent Wings 3 fans. What I plan to do is having two 140mm Silent Wings at the front as intake fans, one 120mm Silent Wing at the read as exhaust fan and one Silent Wing at the top as exhaust. So, I purchased all of them and added them already to the case as well. In one of the images at the top, you can see the two 140mm fans I installed at the front.
Basically, the more I do today, the less it is tomorrow. There are not many PC parts missing. I have most of the stuff already here, so, I can further prepare the system the next days if I am not too busy. And well, it’s summer so I am very often outside and don’t stress myself with the PC build. What is missing is the memory kit. I just ordered a 32GB kit today but I need to wait for the delivery. I might post more about the new system and how things come together. Let’s see.

One thought on “PC Build Preparation”